How To Automatically Install WordPress to a Subdomain
You may want to install WordPress on your subdomain. This article provides instructions on how to install WordPress for a subdomain from your Domains dashboard automatically.
What is a Subdomain?
As your web presence increases, you may require the addition of subdomains for your website. Subdomains help you organize your content and provide additional advantages with navigation. Subdomains are like children to your parent or top-level domain. You can put a page of your site to the subdomain, like shop.domainname.com. There are cases that customers create a separate website and put it to the subdomain.
How-To
If you are yet to create a subdomain, follow the instructions under Step 1. Otherwise, move on to Step 2: Install WordPress for a Subdomain Automatically.Step 1: Create a Subdomain
- Log in to your Domains Dashboard.

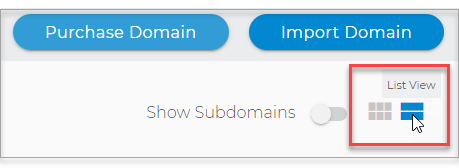
- There are two views in the Domains dashboard - the Card and List views. Click on the view icons to switch to your preferred view.
- Choose the domain where you're creating a subdomain.
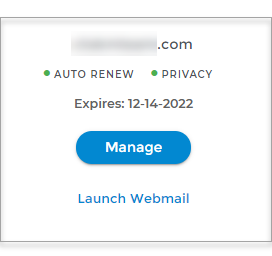
In the Card view, click the domain's Manage button.
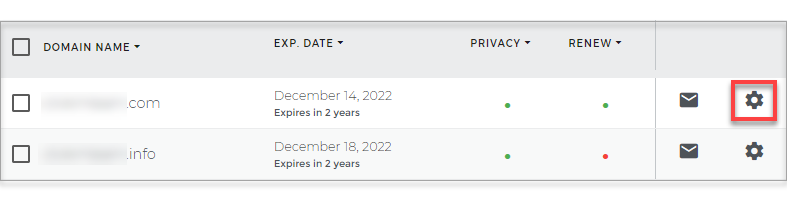
In List view, click the domain or its gear icon on the right-hand side.
- Click on Pointers & Subdomains in the left-hand menu.

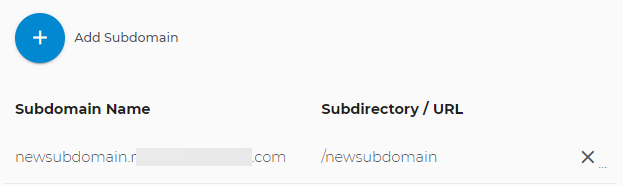
- Click the blue Add Subdomain button.
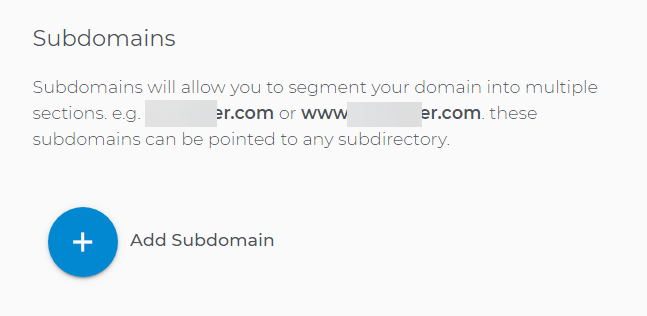
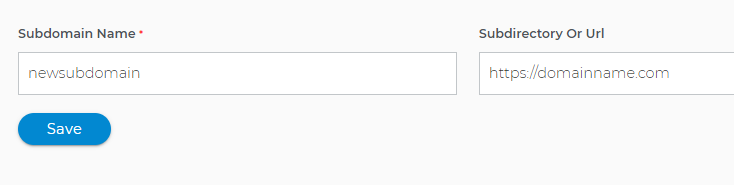
- Add the Subdomain Name and the Subdirectorywhere the files are stored. Click Save.
- Some common subdomains are test, admin, and shop. The shop subdomain is often used for the customer's e-commerce section. The test subdomain is most commonly used for redirecting a customer to a temporary page while the main website is under maintenance.
- Example:
- Subdomain = newsubdomain
- Subdirectory = /newsubdomain
- URL = https://domainname.com/newsubdomain
 Important: Make sure to put the correct folder name or location so that the subdomain will show your files correctly. It is recommended, mostly if you just started, to point the subdomain to an empty folder and put the contents inside that folder.
Customers should use the URL subdomain.domainname.com, when creating a new site.
- The new subdomain will be shown where it was added.
Step 2: Install WordPress for a Subdomain Automatically
- Log in to your Domains Dashboard.
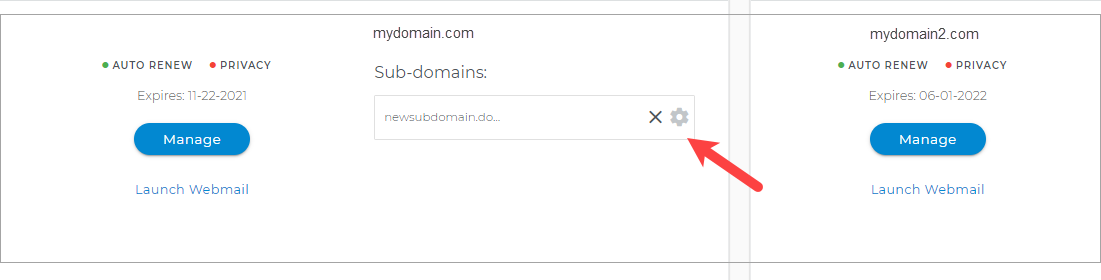
- Toggle the switch to show the Subdomains in the account.
- Click on the gear icon to select the subdomain.
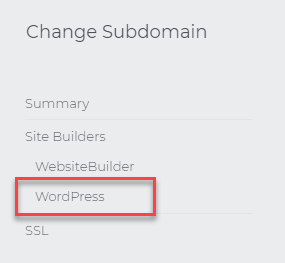
- On the left pane, click on WordPress.
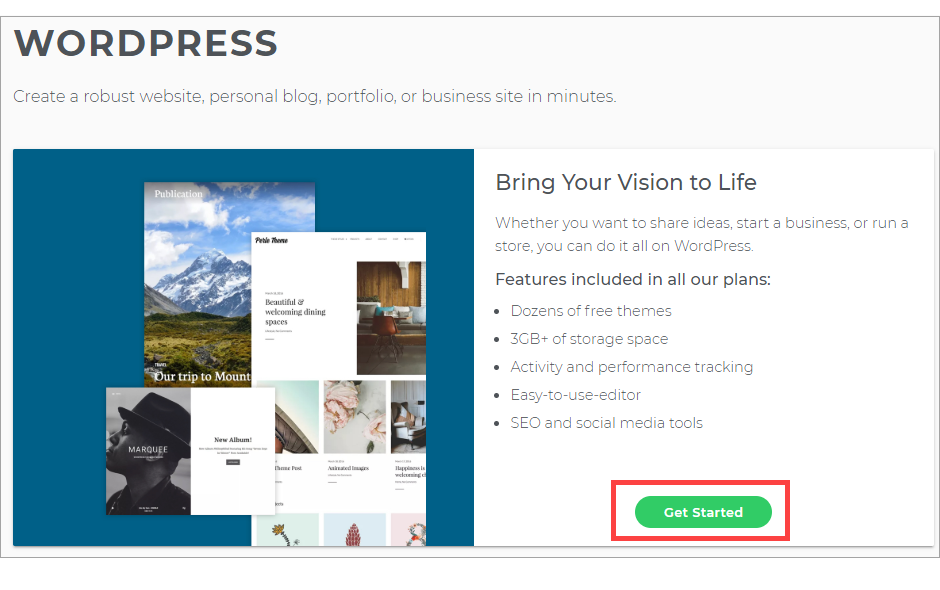
- On the WordPress page, click Get Started.
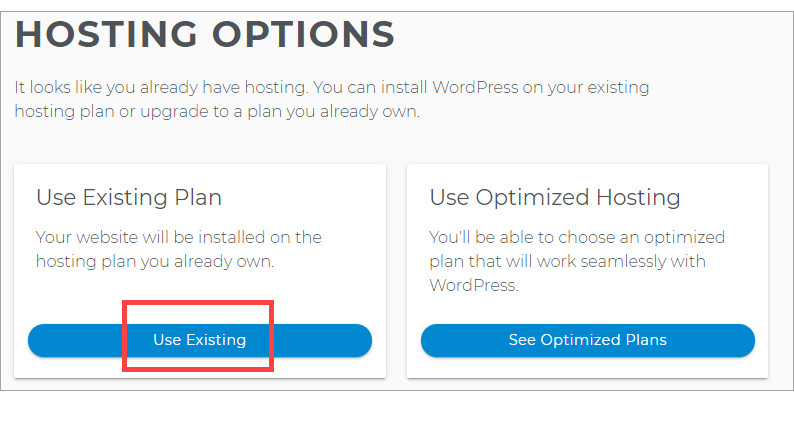
- If you have an existing plan, then click on Use Existing. Note that you can upgrade to Optimized Hosting for Super speed, enhanced security, and personalized support for WordPress.
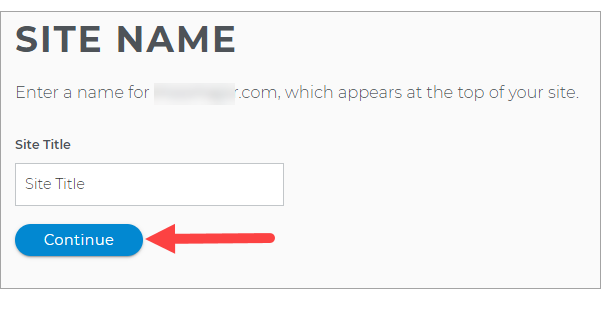
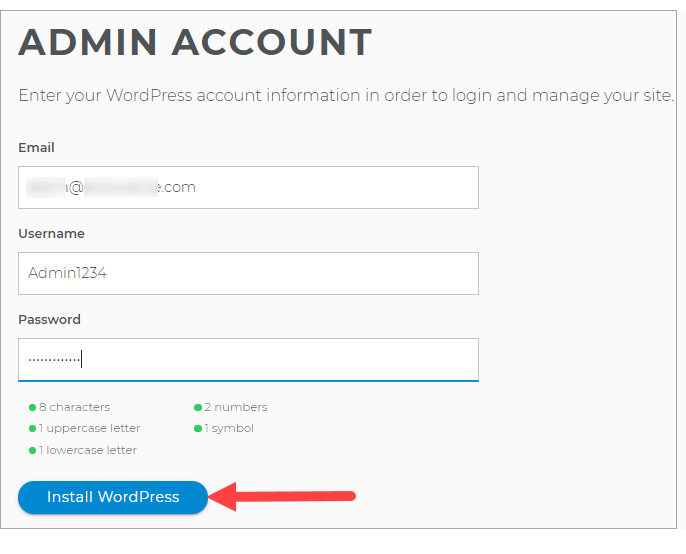
- Create your Site Name, which appears at the top of your site.
- Fill in with your Email, Username, and Password for your WordPress Dashboard.
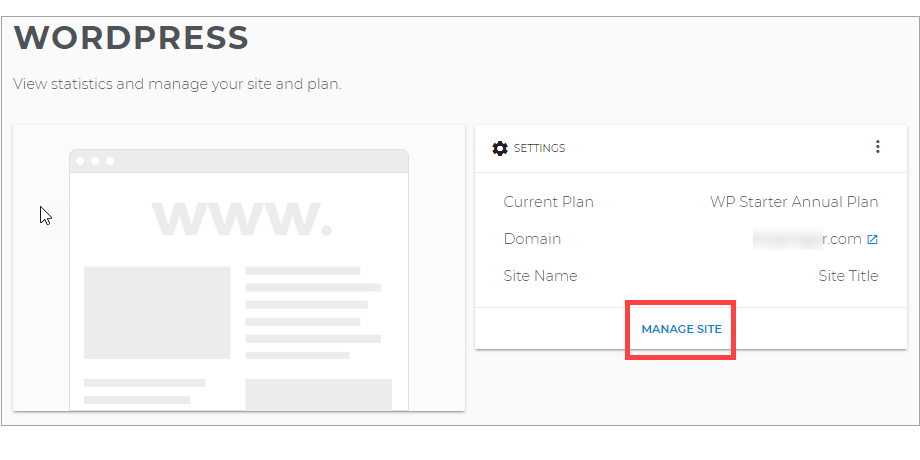
- To modify your WordPress site, click on Manage Site.
If you opt for a manual installation of WordPress, see How to Manually Install WordPress Using FTP .